Scratches ruin the look of any car. Parking too close to another vehicle, scraping against a pole, or dragging a bag with metal zippers across the surface all lead to visible damage. Most people assume deep scratches require a full paint job, but that is not always the case. Many options exist that do not involve repainting, and they can be done at home using simple materials.
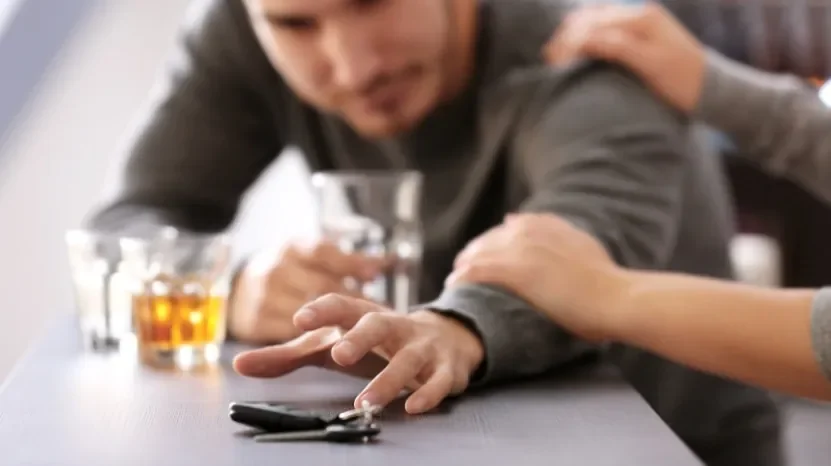
Accidents leave more than dents. A slow-speed collision, a tight turn in a garage, or contact with another vehicle during traffic can strip paint right down to the primer. In such cases, resolving the legal and financial side becomes just as important. If the scratch came as a result of a crash, and you need assistance with insurance or claims, contacting a Las Vegas Car Accident Attorney can help with everything related to liability while you handle the repair.
Fixing paint damage at home saves time and avoids costly shop visits. You can use toothpaste, rubbing compound, or a proper touch-up kit to restore the look of your car. Each solution depends on the depth of the scratch. Deep ones take more effort, but repainting the whole panel is not the only path forward. With care and the right tools, you can repair the damage without sending your car to a body shop.
Use Whitening Toothpaste for Clear Coat Scratches
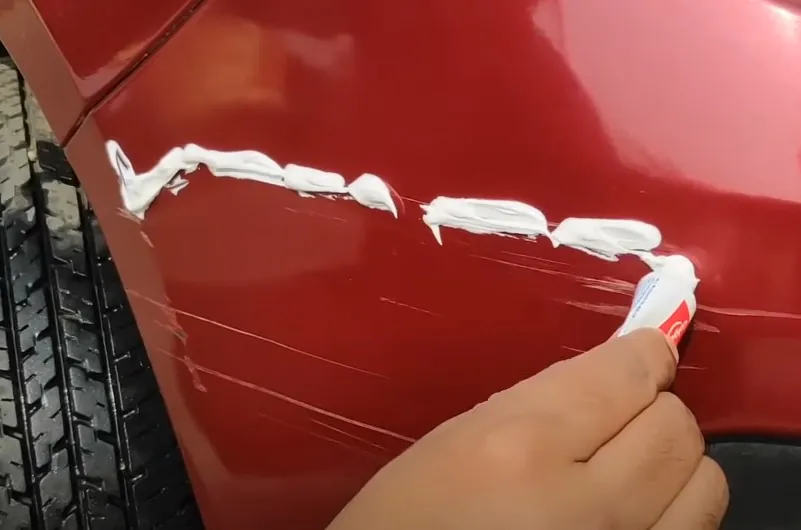
Toothpaste acts as a mild abrasive and works well on clear coat scratches that do not go beyond the top layer. Begin by cleaning the area thoroughly using warm, soapy water and a microfiber cloth.
Once the surface dries completely, apply a small amount of whitening toothpaste to a clean cloth. Rub the toothpaste into the scratch using small circular motions. Keep the pressure firm but not aggressive. This technique smooths out the surrounding area, helping the scratch blend in.
Use only non-gel, white toothpaste. Avoid colored or gel-based varieties, as they contain additives that may harm the paint. After buffing, rinse the area and dry it with a soft cloth. If the scratch remains visible, repeat the process up to two times. Do not go beyond that. Over-buffing wears down the clear coat and may cause new damage. For small imperfections, this method provides fast and noticeable results without requiring any specialized tools.
Use WD-40 to Mask Light Surface Marks
View this post on Instagram
Spraying WD-40 on a light scratch will not remove it, but it can help make it less visible. The formula softens the top layer around the scratch, creating a blended look. For clear coat abrasions or minor scuffs that did not cut into the base paint, this solution provides a short-term improvement. It works well when preparing the car for sale, photography, or a temporary touch-up before applying other products.
How to Apply WD-40 for Scratch Reduction
Spray a light mist directly over the scratched section. Use a clean, dry microfiber cloth to buff the product into the area using small circular motions. Continue rubbing for about one minute. Do not scrub aggressively. The idea is to coat and level the surface gently.
Once finished, use another cloth and car soap to clean the area again. WD-40 can attract dust and should never stay on the paint for long periods. Rinse well and dry the surface with a clean towel. You may apply car wax afterward to protect the area and enhance the gloss.
Rub Petroleum Jelly into Faint Scratches
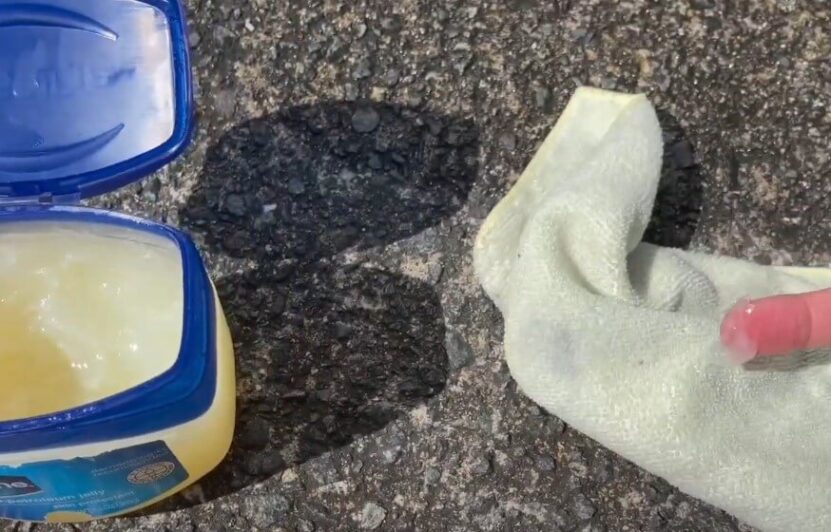
Petroleum jelly helps reduce the visual effect of ultra-light scratches that sit only on the surface. It works by filling in the fine grooves and creating a smooth reflection. This method works best on glossy paint and freshly cleaned surfaces. It is not a permanent repair, but for older cars or temporary needs, it improves the overall look with almost no effort.
Begin by washing the scratched area using warm water and car-safe soap. Dry it completely with a soft towel. Any leftover dirt or moisture can reduce the effectiveness of the petroleum jelly.
Applying Petroleum Jelly to Light Marks
Use a cotton swab or the corner of a microfiber cloth to apply a small amount of petroleum jelly directly into the scratch. Rub it in with gentle, short strokes. Do not use pressure. Let the jelly sit on the surface for a few minutes, then buff lightly with a clean microfiber towel.
Apply Scratch Removal Compound in Circular Motion
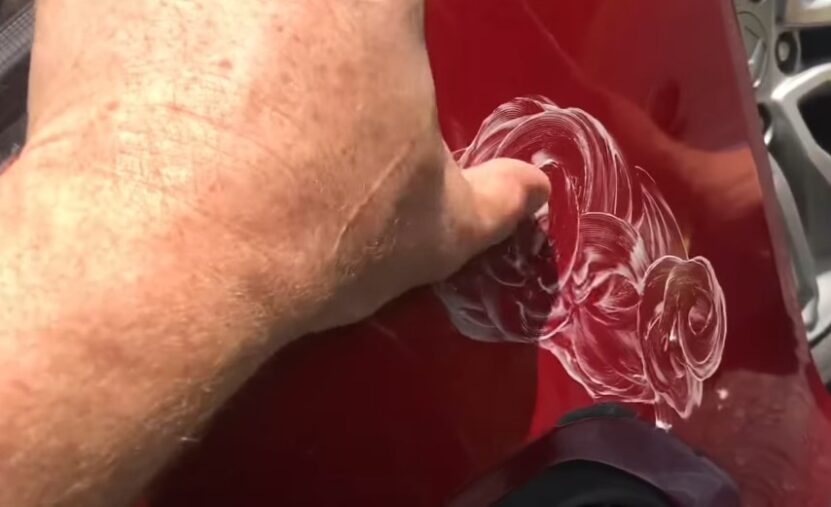
Scratch removal compounds work by slightly leveling the surface around the damaged area. These products contain micro-abrasives that blend the scratch into the surrounding paint. When used properly, they can erase most shallow to mid-depth scratches. Always choose a compound rated safe for clear coats, especially for newer cars.
Begin by cleaning the area thoroughly using car soap and water. Dry it with a microfiber cloth. Make sure the surface is cool and shaded before applying any compound.
Proper Use of Scratch Removal Compound
Squeeze a coin-sized amount of compound onto a clean buffing pad or soft cloth. Spread it across the area gently. Rub in circular motion only. Keep the motion consistent and avoid sudden direction changes. Apply moderate pressure and continue rubbing for 60 to 90 seconds.
Wipe off any residue with a clean microfiber towel. If the scratch fades but does not disappear, wait a few minutes and repeat the process. Never exceed three passes in the same spot, or you may remove too much clear coat.
Use Modern Rubbing Compound with a Polishing Machine
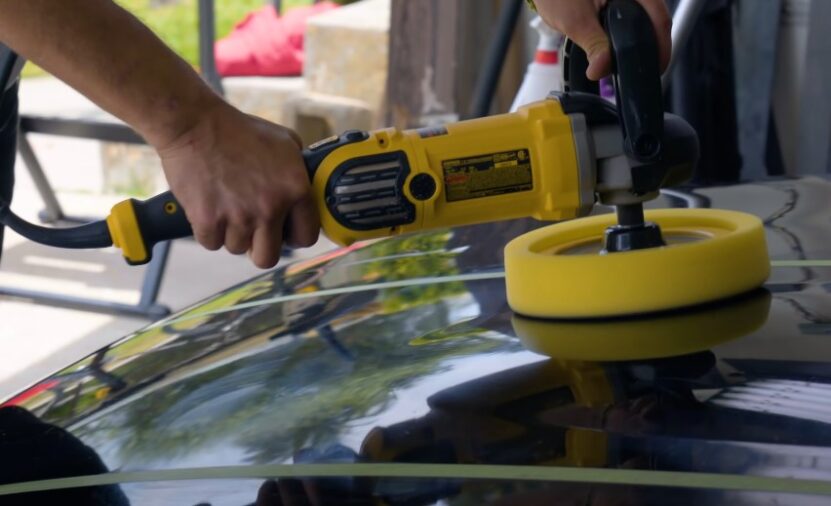
Rubbing compound removes a thin layer of clear coat to even out the surface and erase deeper marks. It is effective for scratches that go slightly past the surface but have not yet exposed the base paint or primer. This method requires the right compound and a dual-action polisher for even results.
Wash the area thoroughly before starting. Surface contaminants must be fully removed to prevent dragging debris into the paint during polishing.
Choosing the Right Compound
Not all rubbing compounds are safe for modern finishes. Only use products marked as safe for clear coat. Older formulas can burn or cloud the surface. Pick a compound designed for machine use, preferably one labeled for swirl and scratch removal.
How to Polish with a Dual-Action Machine
- Apply three small drops of compound onto the polishing pad.
- Spread the product across the panel before switching on the machine.
- Use low to medium speed, keeping the pad flat at all times.
- Work in overlapping lines—never focus in one spot for too long.
Final Steps After Polishing
Wipe the area with a microfiber towel to inspect the results. If needed, perform one more light pass. Follow with a polishing compound to refine the shine, and finish with wax to protect the surface. Never polish a hot panel or one exposed to direct sunlight.
Seal Exposed Metal with Clear Nail Polish
When a scratch cuts through paint and primer, bare metal becomes vulnerable to moisture. Rust can form quickly if the spot stays unsealed. Clear nail polish offers a fast, temporary sealant that prevents oxidation until a full repair can be done.
Clean the damaged section first with rubbing alcohol and a soft cloth. Let the surface dry fully before applying anything.
Application Guide for Nail Polish
Use the brush to apply one thin, even coat of clear polish directly into the scratch. Focus only on the exposed metal. Allow it to dry for at least 15 minutes. If needed, apply a second coat for full coverage.
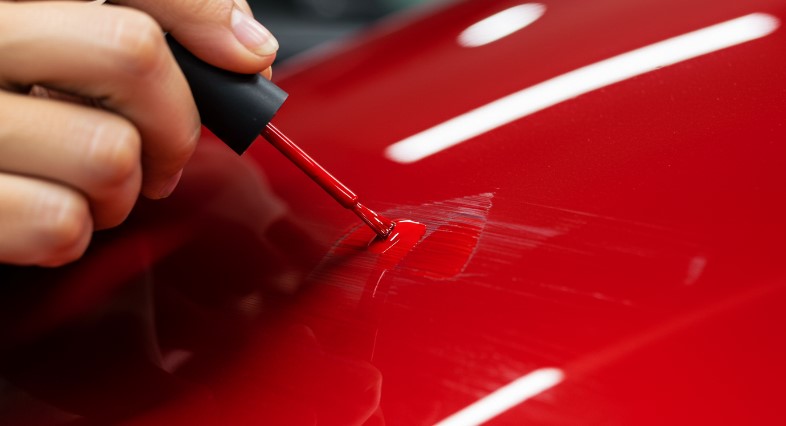
Use Touch-Up Paint Pens Matched to Car Color
Touch-up pens allow you to fill scratches that reach into the base coat or primer. These pens come in many factory-matched shades and offer long-term protection along with a better visual finish. They work best on scratches that are narrow but deep.
Clean the scratch with rubbing alcohol to remove wax, dirt, and polish residue. Let the panel dry completely before using the paint pen.
Matching and Applying Touch-Up Paint
- Locate your car’s paint code on the door frame, glove box, or owner’s manual.
- Buy a pen that matches the exact code.
- Shake the pen thoroughly before use.
- Apply in light, steady strokes, staying within the groove of the scratch.
Apply Color Match Vinyl Stickers to Cover Long Scratches
Vinyl color-match stickers are a clean and non-permanent way to hide long scratches. These are adhesive-backed patches cut to match factory paint. They cover the damage directly without paint or tools. Many brands offer kits that include several size options for different areas of the car.
Wash the area completely and wipe with alcohol to remove all residue. Let the panel dry for five minutes before applying the vinyl.
How to Use Color-Matched Vinyl Patches
- Select a sticker that fully covers the scratch.
- Peel the backing off carefully.
- Align it over the damaged section and press firmly.
- Use a soft squeegee or credit card to flatten out air bubbles.
Benefits of This Method
- Quick visual improvement
- No risk of oversanding or mismatched paint
- Easily removable and replaceable
Bottom Line
Deep scratches do not always require professional repainting. Many of them can be handled at home using the right tools, steady hands, and smart product choices. Each method in this guide serves a different depth or type of damage. Surface marks fade with simple items like toothpaste or petroleum jelly. Deeper scratches may call for rubbing compounds, touch-up paint, or color-matched vinyl stickers.
Always clean the surface first. Always test on a small area. Never rush through application. Results depend on preparation, product quality, and matching the right method to the depth of the damage.